Sensor Setup with the Push of a Button
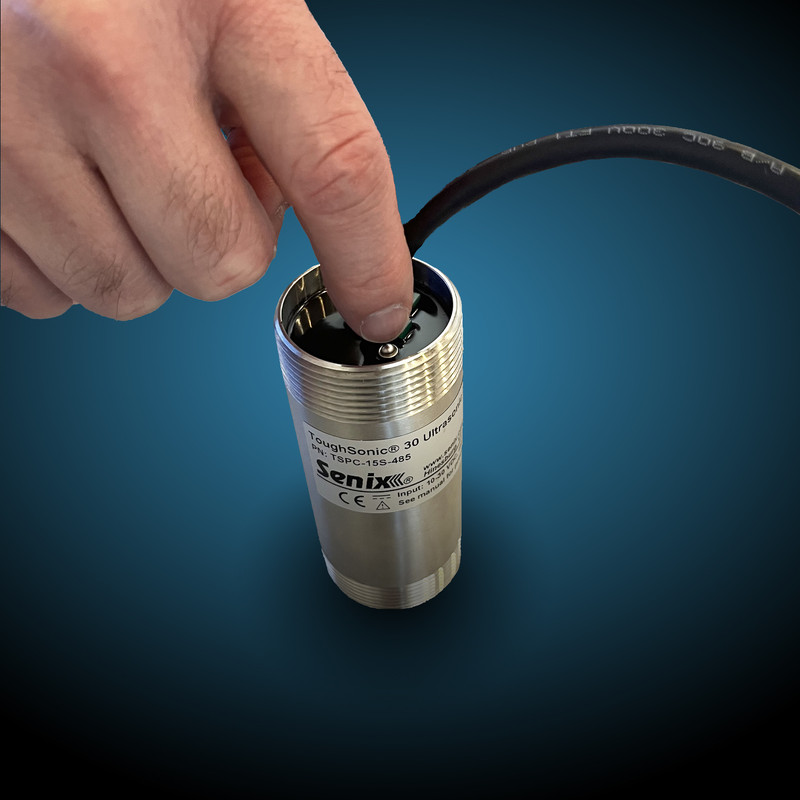
Many Senix ToughSonic®-100 sensors include a “TEACH” button. This button can be used to set parameters, like the analog output range.
Senix invented the push-button method of ultrasonic sensor setup in 1990. Since then, it has been universally adopted by major sensor makers worldwide.
When Senix's "TEACH" Function Comes in Handy
Since the invention of the push-button, Senix has since added methods of sensor configuration, including SensorView™ software.
However, we've retained push-button capability for the TS-100.03, TS-100.14, and TS-100.30 ToughSonic sensors.
Sometimes in-situ calibration is the easiest, most convenient choice for setup—such as in applications where it's not possible to connect to a PC or a computer is simply not available.
The TEACH button can be found on the rear end of the Senix sensor. View the PDF below for a detailed diagram.
Understanding the Ultrasonic Sensor "Window"
Analog range shouldn’t be confused with the operating range. The analog range—or window—is a region within the overall operating range. Ultrasonic echoes from outside the operating range are ignored. The analog range within the operating range is the region where the output voltage or output current varies, according to measured distance.
Consider instantaneous voltage or current output as position data. For a Senix ultrasonic sensor with a push button, the analog range can be set using "TEACH" mode.

Teaching either analog endpoint by the TEACH button method requires a valid target at the required distance. The analog high can be either the nearer or farther point.
TEACH Function FAQs
The ultrasonic sensor will output a voltage or current proportional with the measured distance between analog range points.
- Press and hold the push button while you count three blinks of the round LED.
- Release the push button. The round LED will continue to flash on and off slowly, indicating the sensor is in TEACH mode.
- To exit TEACH mode, hold the push button for three blinks and release.
- Ensure the sensor status LED is green.
- Set the sensor so a valid target is at the distance desired for the LOW output.
- To set the ANALOG LOW output at the current distance, hold the push button and count four blinks of the round LED, then release.
- Ensure the sensor status LED is green.
- Set the sensor so a valid target is at the distance desired for the HIGH output.
- To set the ANALOG HIGH output at the current distance, hold the push button and count five blinks of the round LED, then release.
Have more questions? Contact the Senix team today.