
Reliable & Rugged Ultrasonic Sensors for Every Industry
Precision. Durability. Performance.
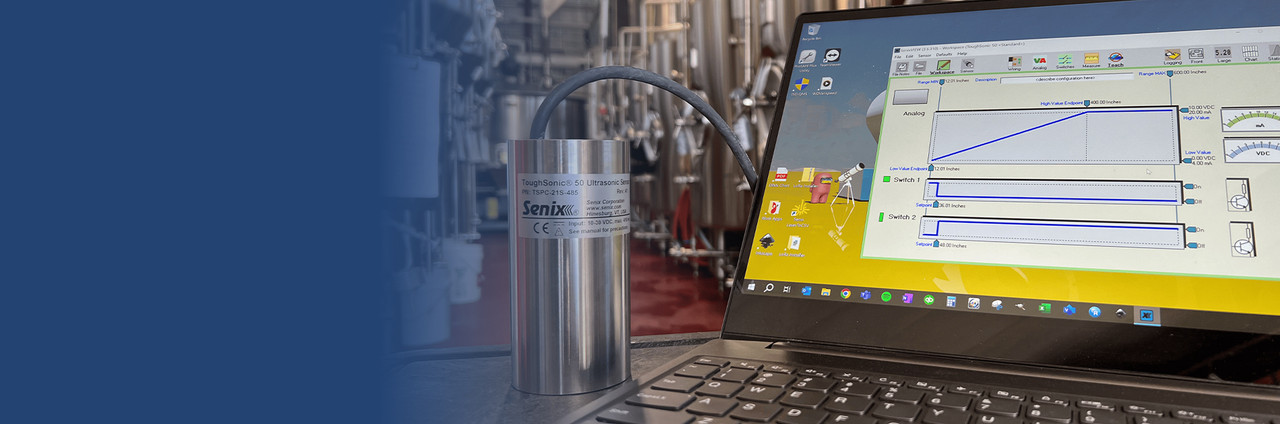
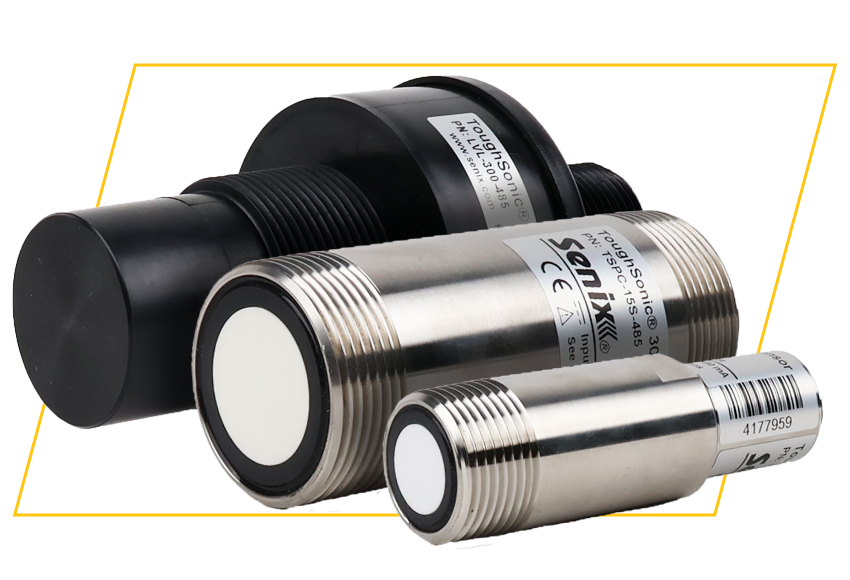
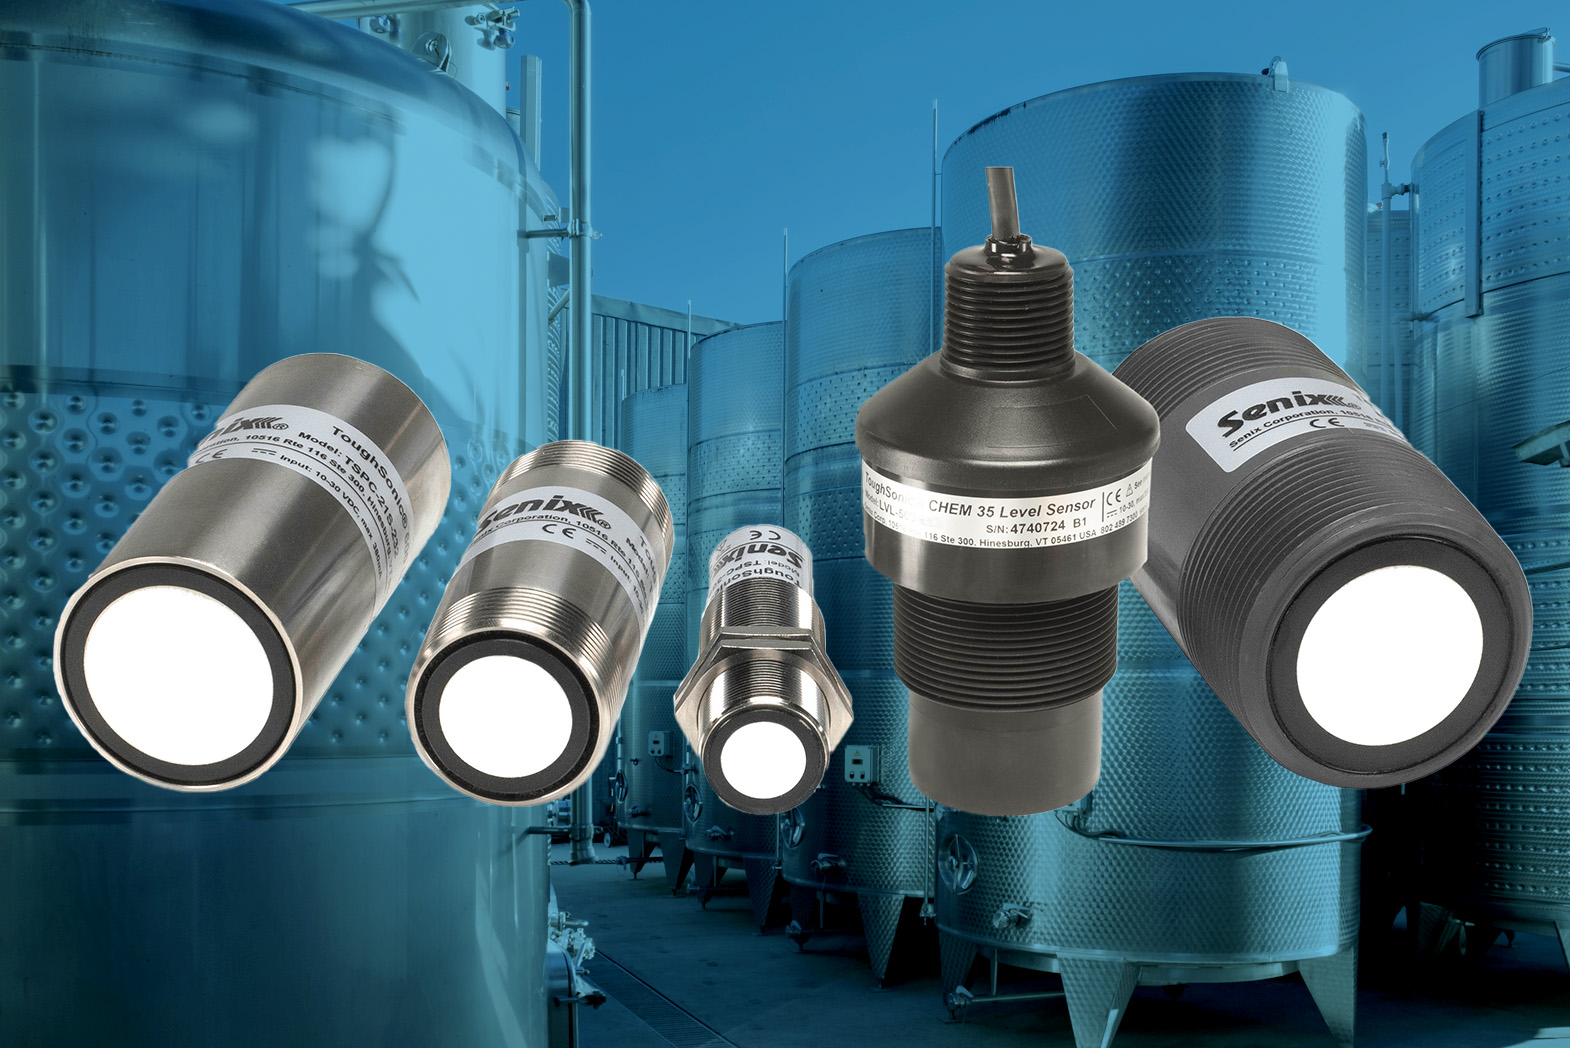
Senix ToughSonic® general purpose and chemical-resistant sensors are an affordable, reliable choice for automation and level and distance measurement in industrial, agricultural, and marine applications.
ToughSonic-100 and -200 series sensors provide high-accuracy liquid level monitoring in tanks, industrial containers, and in open-air environments.
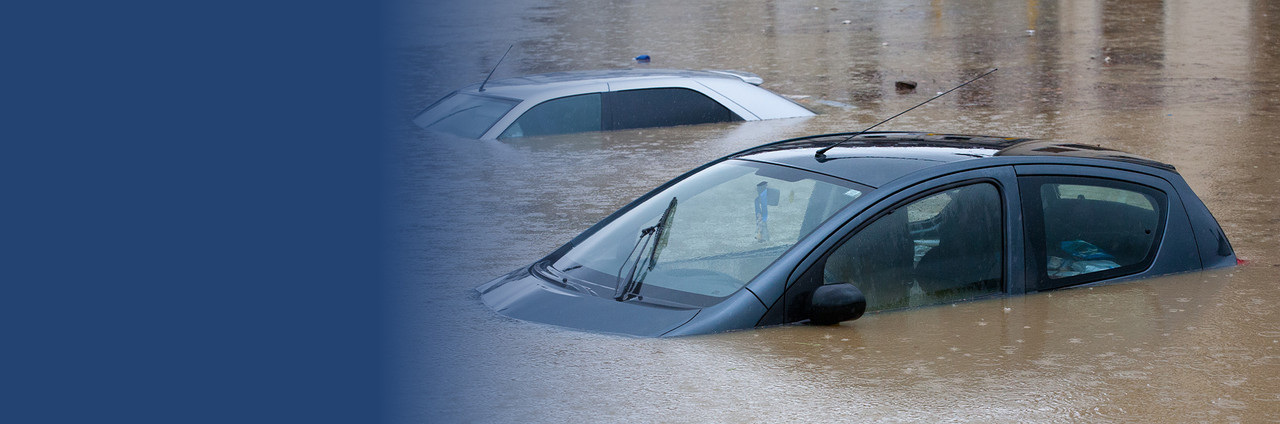
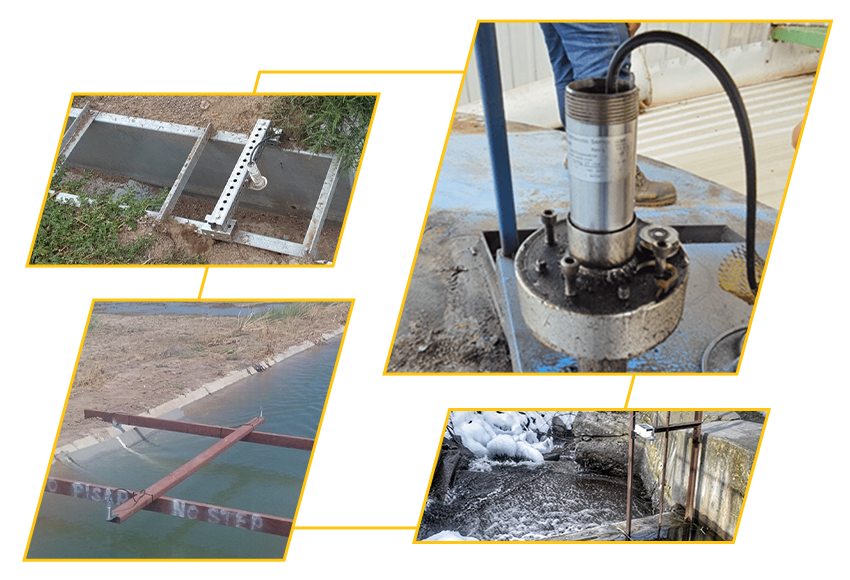
Senix sensors are a durable choice for flood and river level monitoring. Or utilize ultrasonic sensors for responsive tank level measurements in processing and sanitary environments.
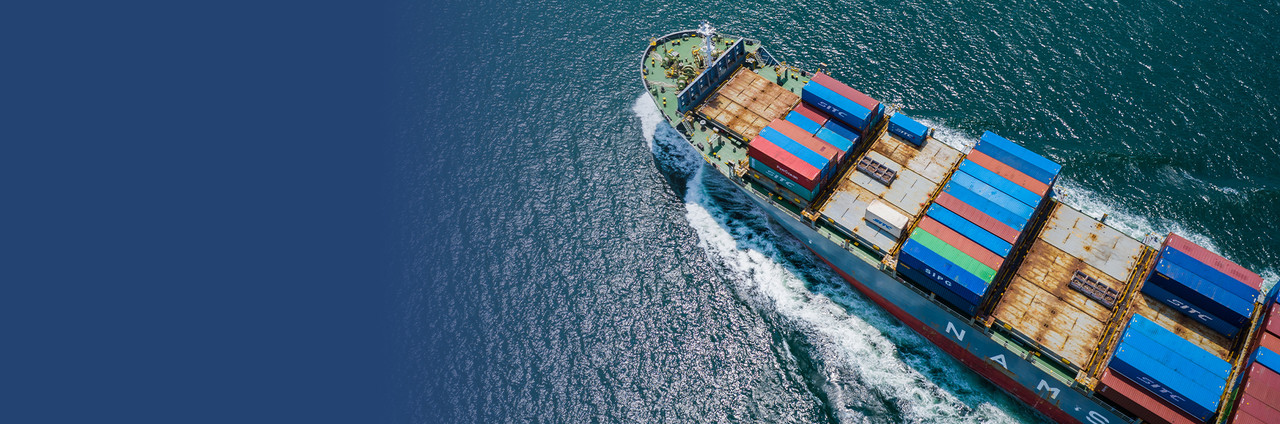
Heavy equipment and maritime operations rely on our durable transmitters for distance ranging and obstacle avoidance in nautical, bridge, or road construction sites.
Senix has been a force in ultrasonic level and distance sensors for over 35 years. No matter what your application—municipal wastewater, civil engineering, fertilizer tanks, and everything in between—there's a ToughSonic for every industry.
Versatile. Customizable. Tough. Smart. Connected.
Featured Products
Why Choose Senix?
Durable & Weatherproof
IP68-rated for extreme conditions
High-Precision Sensing
Reliable measurements in tough environments
Easy Integration
Multiple outputs, remote monitoring and IOT-ready
Custom Solutions
Tailored sensors for unique applications
Senix Serves Your Industry.
Tank Level Monitoring
Monitor your tanks,
vats, & other large
liquid vessels
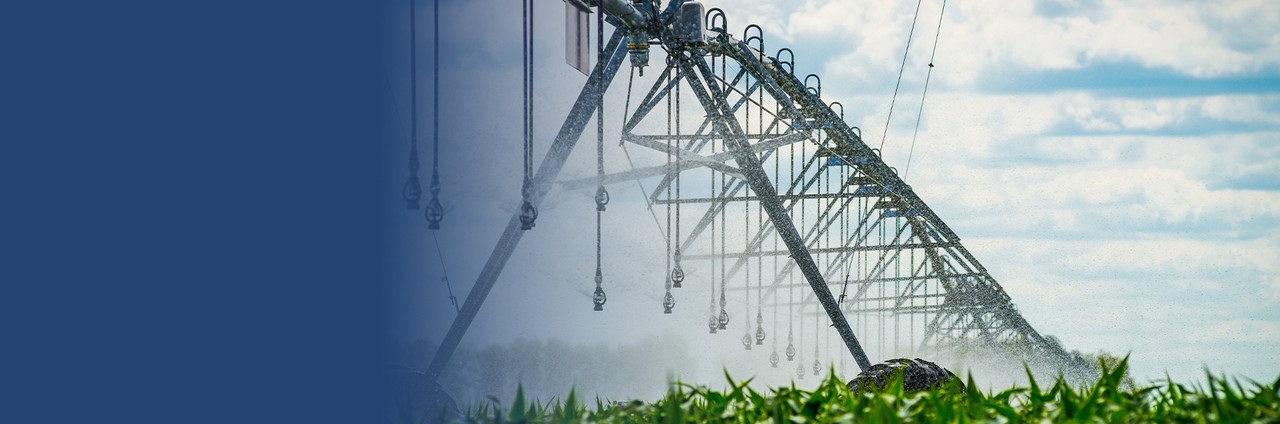
Agriculture
Precision farming
including irrigation,
sprayers & crop heights
Marine
Ship & barge distancing,
hydrofoil boats,
& wave profiling
Environmental
River levels, stormwater,
droughts, floods,
& tsunamis
Civil Engineering
Road and bridge
construction &
structural monitoring
More About Senix
Senix became a part of Garner Industries, LLC—headquartered in Lincoln, Nebraska, USA—in 2024.
Senix is a sister company to BinMaster level sensors and inventory software serving the agriculture and process industries since the early 1960s.
Featured Applications
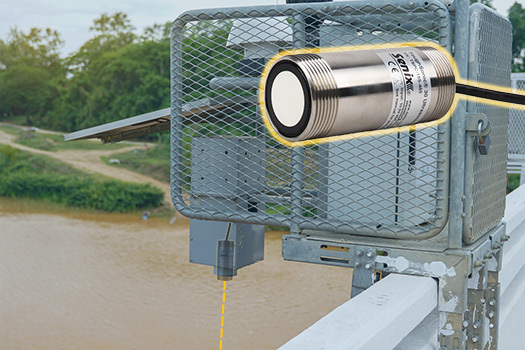
Water Monitoring
In Tanks, Rivers, & Streams
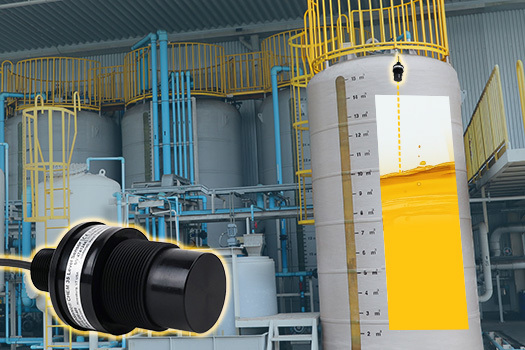
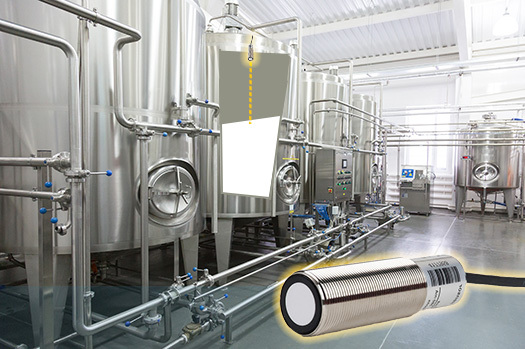
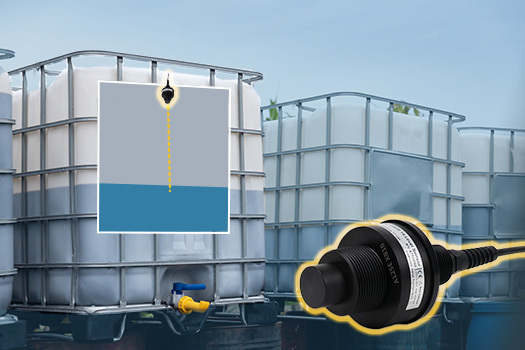
Tank Level Monitoring
For Benign Liquid & Chemical Levels
Object Detection
Detecting Presence & Absence
Inventory Systems
Efficient Bulk Inventory Monitoring
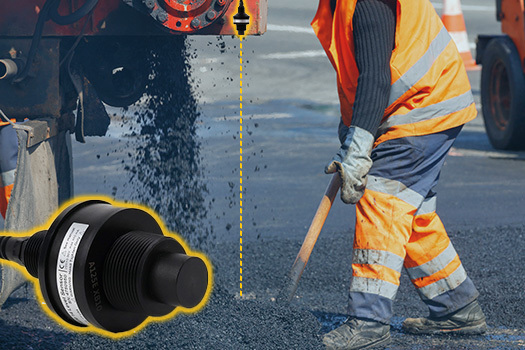
Civil Engineering
Safer & Smoother Construction & Repairs
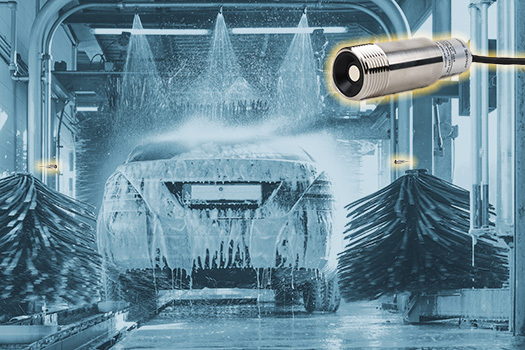
Distance Ranging
For Industrial & Automotive Automation
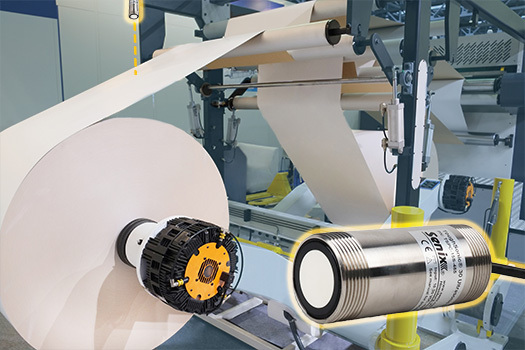
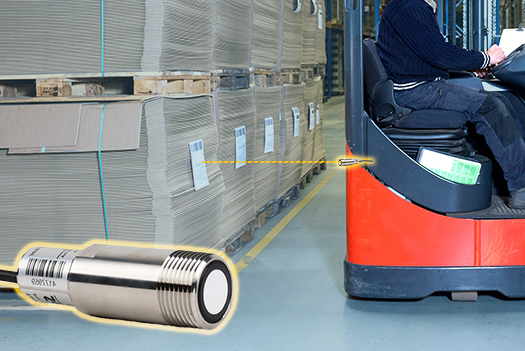
Material Handling
Printing, Positioning, & More
Agriculture & Farming
Monitoring Tanks, Pits, & Reservoirs
News & Application Stories
Senix's Ultimate Ultrasonic Sensor Selection Guide

Senix Attending WEFTEC 2025